
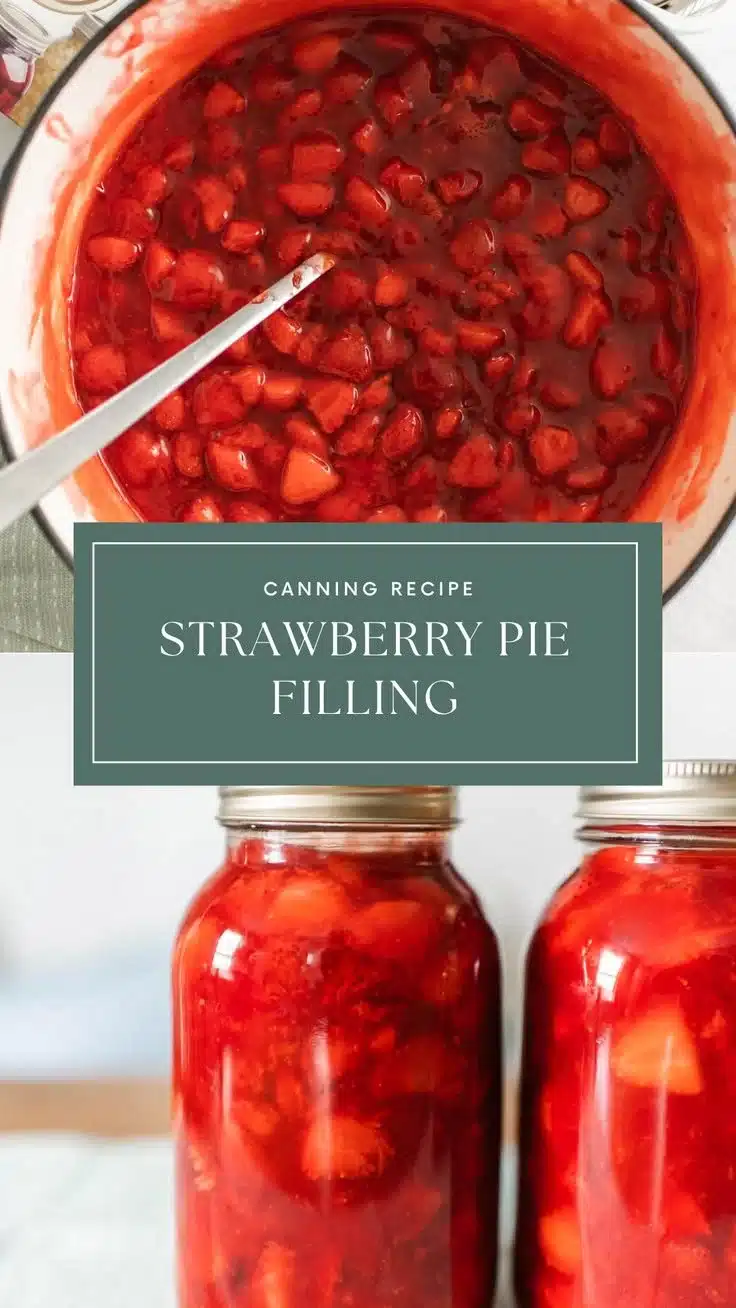


How to make Canning Strawberry Pie Filling
Canning strawberry pie filling is a delightful way to preserve the sweet taste of fresh strawberries for your homemade pies and desserts all year round. The process is simple and can be done at home with just a few ingredients.
Ingredients:
- 2 quarts fresh strawberries, hulled and sliced
- 2 cups sugar
- 1/4 cup cornstarch
- 1/4 teaspoon salt
- 1 teaspoon lemon juice
- 1/4 teaspoon almond extract (optional)
- Water (as needed for boiling)
Directions:
-
Prepare Your Jars: Start by washing your jars in hot, soapy water. Rinse them well and keep them warm until you are ready to use them.
-
Mix Strawberries and Sugar: In a large bowl, combine the sliced strawberries with the sugar. Mix gently and let them sit for about 10-15 minutes until the juices start to release.
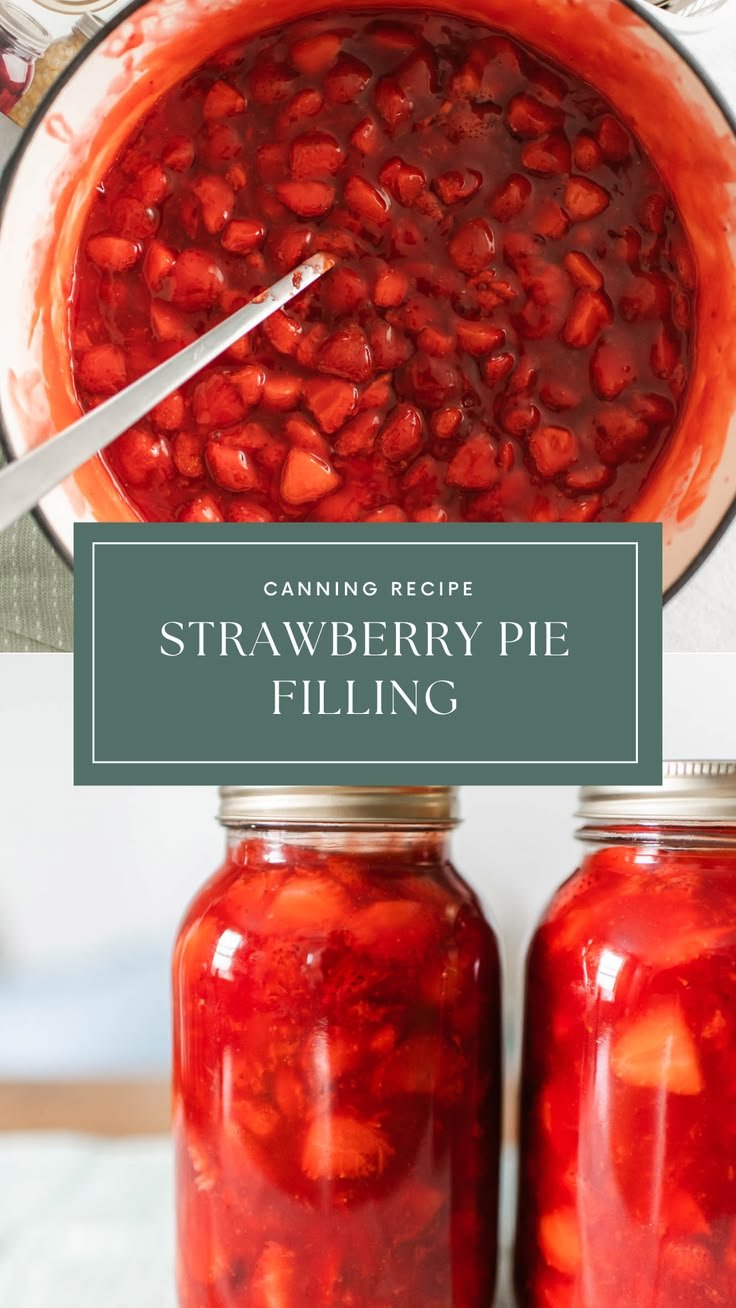
-
Combine Dry Ingredients: In a separate bowl, mix cornstarch, salt, and lemon juice.
-
Combine Strawberry Mixture: Stir the dry mixture into the strawberries. Make sure everything is evenly coated.
-
Cook the Mixture: Transfer the strawberry mixture to a large saucepan. Over medium heat, bring the mixture to a boil while stirring continuously. This process should take about 2-5 minutes until it thickens.
-
Add Extract: Once thickened, remove the saucepan from heat. If you choose to use almond extract, add it at this stage.
-
Fill Jars: Pour the hot strawberry filling into the prepared jars. Leave about 1/2-inch headspace at the top of each jar. Wipe the rims of the jars with a clean cloth to ensure a good seal.
-
Seal Jars: Place the lids on the jars and screw the rings on until they are fingertip tight, but not too tight.
-
Process in Water Bath: Process the jars in a boiling water bath for about 15-20 minutes. This step is essential for proper sealing and preserving the filling.
-
Cool and Store: Carefully remove the jars from the water bath and let them cool completely on a clean kitchen towel or rack. After 12-24 hours, check the seals and store the sealed jars in a cool, dark place.
Why You’ll Love This Canning Strawberry Pie Filling
Canning strawberry pie filling is not only a wonderful way to enjoy strawberries long after the season ends, but it also offers the satisfaction of homemade goodness. The sweet and tart flavor combination makes it a versatile filling for pies, tarts, and other desserts. You can use it in various other dishes, such as pancakes, waffles, or even yogurt for a tasty treat.
Additionally, the ingredients are simple and wholesome, providing a fresh alternative to store-bought fillings that may contain artificial flavors and preservatives. You can customize the filling based on your taste preferences by adjusting the sugar or adding spices such as cinnamon or nutmeg.
Nutriment Benefits
Strawberries are packed with valuable nutrients. Here are some of the benefits:
-
Rich in Vitamin C: Strawberries are an excellent source of vitamin C, which helps boost your immune system and keeps your skin healthy.
-
High in Antioxidants: They contain antioxidants that fight free radicals in the body, potentially reducing the risk of chronic diseases.
-
Low in Calories: Strawberries are low in calories, making them a great option for those watching their weight.
-
Fiber Content: They are a good source of dietary fiber which aids in digestion.
Overall, homemade strawberry pie filling is not just delicious; it brings a wealth of health benefits to your diet!
What to Serve With Canning Strawberry Pie Filling
This delightful filling pairs well with a variety of dishes and desserts. Here are some of the best ways to enjoy it:
-
Traditional Pies: Use it as a filling for classic strawberry pies topped with whipped cream or a lattice crust.
-
Ice Cream Toppings: Drizzle it over vanilla or strawberry-flavored ice cream for a refreshing dessert.
-
Pancakes and Waffles: Add it as a topping for pancakes or waffles to bring a burst of flavor to your breakfast.
-
Shortcakes: Serve it alongside biscuits or sponge cakes for a simple strawberry shortcake.
-
Yogurt Mix-Ins: Swirl it into plain or flavored yogurt for a tasty snack that’s excellent for all ages.
How to Store Canning Strawberry Pie Filling
Proper storage is crucial for maintaining the quality and safety of your canned strawberry pie filling. Here are some guidelines to ensure your jars are stored correctly:
-
Cool, Dark Place: Store the sealed jars in a cool, dark area to avoid the risk of spoilage. A pantry or cellar works well for this.
-
Check Seals: Always check the seals before storing. If the lid pops back when pressed, it hasn’t sealed properly, and you should refrigerate that jar and use it within a week.
-
Use Within One Year: Although canned foods can last longer, it’s best to use the pie filling within one year for optimal freshness and flavor.
-
Label Jars: Consider labeling your jars with the date and contents for easy organization and tracking.
Tips and Mistakes to Avoid
While canning strawberry pie filling is straightforward, a few tips can help ensure your success:
-
Use Fresh Ingredients: Always use the freshest strawberries to guarantee the best taste and quality in your filling.
-
Watch the Cooking Time: Make sure you do not overcook the mixture, as this can make it too thick or alter the taste.
-
Headspace Matters: Leaving enough headspace (1/2 inch) at the top of the jars is essential for a proper seal during processing.
-
Avoid Hot Jars with Cold Filling: Ensure that the jars are warm when filling with hot mixtures to prevent glasses from breaking.
-
Clean Rims Thoroughly: Wiping the rims ensures that dirt or moisture will not interfere with the sealing process.
By avoiding these common mistakes, you can achieve a perfectly sealed and delicious strawberry pie filling.
Variation
While the basic recipe is delightful on its own, there are ways to mix it up:
-
Add Spices: Consider incorporating a pinch of cinnamon or nutmeg to deepen the flavor profile.
-
Use Different Sweeteners: Substitute some or all of the sugar with natural sweeteners like honey or maple syrup, depending on your dietary preferences.
-
Experiment with Fruits: Combine strawberries with other fruits such as raspberries or blueberries for a mixed berry filling.
These variations offer exciting twists to the traditional recipe while keeping it enjoyable!
FAQs
1. Can I use frozen strawberries for this recipe?
Yes, you can use frozen strawberries if fresh ones are unavailable. However, thaw and drain excess liquid before mixing to prevent the filling from being too watery.
2. How long can I store the canned filling?
Canned strawberry pie filling can be stored for up to one year if sealed correctly and kept in a cool dark place.
3. What if my jars didn’t seal?
If the jars didn’t seal, refrigerate the unsealed jars and use the filling within a week. You can re-process them if seals fail within 24 hours.
Canning strawberry pie filling not only preserves the delicious taste of strawberries, but also makes for delightful treats throughout the year. Follow this guide for a successful canning experience and enjoy the burst of flavor in your desserts!
Print
Canning Strawberry Pie Filling
- Total Time: 40 minutes
- Yield: 4 servings 1x
- Diet: Vegetarian
Description
Preserve the sweet taste of fresh strawberries for your pies and desserts all year round with this simple canning recipe.
Ingredients
- 2 quarts fresh strawberries, hulled and sliced
- 2 cups sugar
- 1/4 cup cornstarch
- 1/4 teaspoon salt
- 1 teaspoon lemon juice
- 1/4 teaspoon almond extract (optional)
- Water (as needed for boiling)
Instructions
- Prepare your jars: Start by washing your jars in hot, soapy water. Rinse them well and keep them warm until you are ready to use them.
- Mix strawberries and sugar: In a large bowl, combine the sliced strawberries with the sugar. Mix gently and let them sit for about 10-15 minutes until the juices start to release.
- Combine dry ingredients: In a separate bowl, mix cornstarch, salt, and lemon juice.
- Combine strawberry mixture: Stir the dry mixture into the strawberries. Make sure everything is evenly coated.
- Cook the mixture: Transfer the strawberry mixture to a large saucepan. Over medium heat, bring the mixture to a boil while stirring continuously. This process should take about 2-5 minutes until it thickens.
- Add extract: Once thickened, remove the saucepan from heat. If you choose to use almond extract, add it at this stage.
- Fill jars: Pour the hot strawberry filling into the prepared jars. Leave about 1/2-inch headspace at the top of each jar. Wipe the rims of the jars with a clean cloth to ensure a good seal.
- Seal jars: Place the lids on the jars and screw the rings on until they are fingertip tight, but not too tight.
- Process in water bath: Process the jars in a boiling water bath for about 15-20 minutes. This step is essential for proper sealing and preserving the filling.
- Cool and store: Carefully remove the jars from the water bath and let them cool completely on a clean kitchen towel or rack. After 12-24 hours, check the seals and store the sealed jars in a cool, dark place.
Notes
Use fresh strawberries for the best flavor. Check seals after cooling and store properly to maintain quality.
- Prep Time: 15 minutes
- Cook Time: 25 minutes
- Category: Dessert
- Method: Canning
- Cuisine: American
Nutrition
- Serving Size: 1 serving
- Calories: 200
- Sugar: 40g
- Sodium: 5mg
- Fat: 0g
- Saturated Fat: 0g
- Unsaturated Fat: 0g
- Trans Fat: 0g
- Carbohydrates: 50g
- Fiber: 2g
- Protein: 1g
- Cholesterol: 0mg